Quick start – Setting up the first minutes with iPROT
This article is the first part of a multi-part quick start guide for iPROT beginners.
iPROT is designed so that you can create your meeting minutes during a meeting or inspection and then send it immediately at the touch of a button. Of course, you can also use iPROT to write minutes after the meeting or inspection has been completed. In any case, certain preparatory work is necessary for meetings and inspections, which you can best do with iPROT directly in the subsequent minutes. In this article, we explain the preparatory work step by step:
Step 1 – Create the first log
To create a new protocol, open the “New protocol” dialog (accessible by clicking on the “+ New protocol” link at the top left).

In this dialog, first enter the subject and then select the log type in which the new log is to be classified in the selection field below. If you have already created a follow-up log for an existing log in a project, the log type is automatically adopted by iPROT and displayed in the selection field provided for this purpose.
When you create the first log, you can adjust the start of the numbering in the “Log number” field. The number 1 is automatically entered there, which you can adapt to the protocol number you require. Please note that this function is no longer available for the following protocols.
Now enter the so-called metadata for the protocol. The author, place, start and end are available. As the author of a log, you can only select people from the iPROT user administration who either have write authorization in the current project or log type, or who have administration rights.
As soon as you enter the start of a meeting, iPROT suggests the current system date and time and adds two hours for the end of the meeting or inspection, which is also displayed in the input fields provided for this purpose.
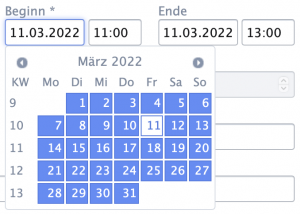
The date in the Start and End fields can either be entered directly using the keyboard in DD.MM.YYYY format or conveniently using the calendar selection field that appears when you click in the input field for the date.
Step 2 – Define participants and distribution list
A text field is provided in the dialog for each participant and distributor.

These two text fields are equipped with an auto-complete function. This means that as soon as you type in the first letters of a name, a selection box appears with the names from the user administration that contain the letters entered in the first and/or last name. Simply click on the desired name to insert it into the text field and highlight it. You can delete the respective person from the participant and/or distribution list by clicking on the X in the marking (to the right of the name).
Additional participants who are not yet saved in the iPROT user administration can be quickly added via the link “+ New participant…” quickly. All you have to do is enter your first name, surname and e-mail address and confirm by clicking on the “Add” button on the far right.

The person then entered appears among the people present and is therefore automatically included in the distribution list. The new participant is also created in the iPROT user administration.
Step 3 – Notes and protocol clause
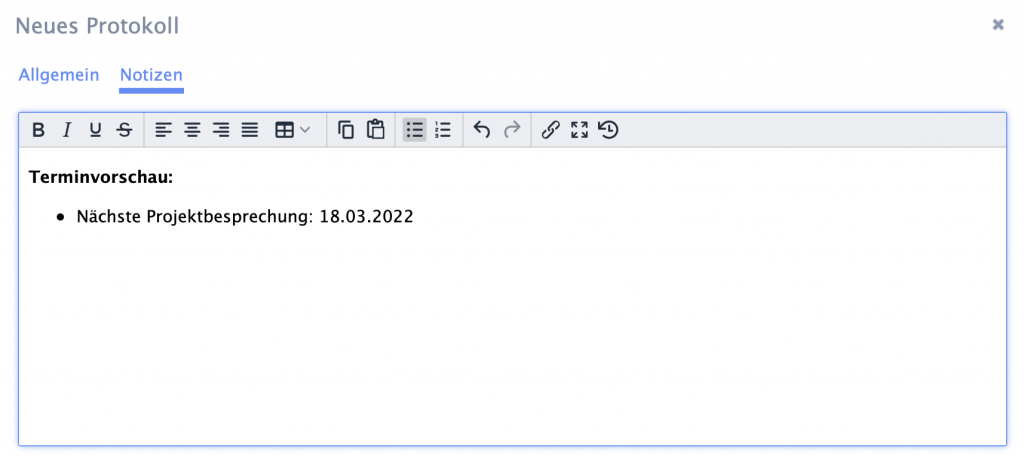
The “Notes” link takes you to a text field in which you can enter notes and, for example, a date for the next meeting.
You can enter a so-called protocol clause in the system or project settings, which you can use, for example, to specify a deadline for objections to the protocol.
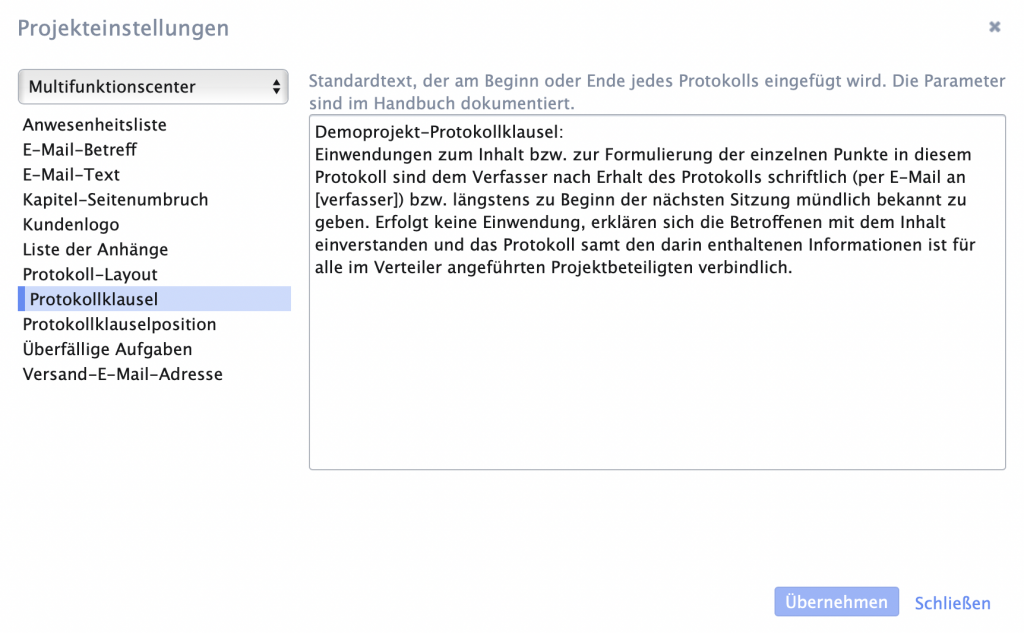
This protocol clause is then displayed either below the distribution list and the notes on the first page of the protocol or on the last page at the end of the protocol, depending on your wishes.
By clicking on the “Save” button in the“New protocol” dialog, the new protocol is created in the selected protocol type and activated for editing.
In the next part of our quick start guide, you will learn how to create your first log with iPROT and which settings you need to take into account.